Valentines Treats Chocolate Covered Oreos
Uitgelicht onder: Creatieve bakinspiratie
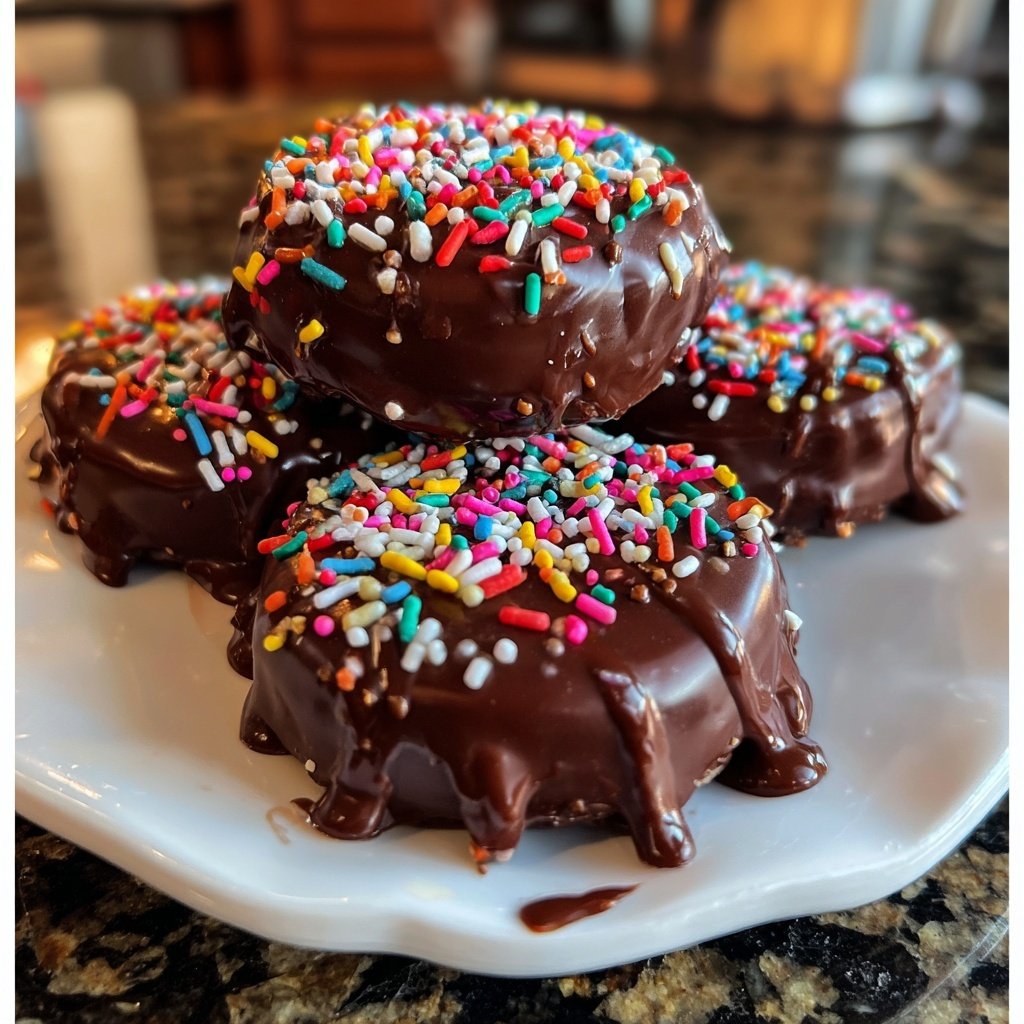
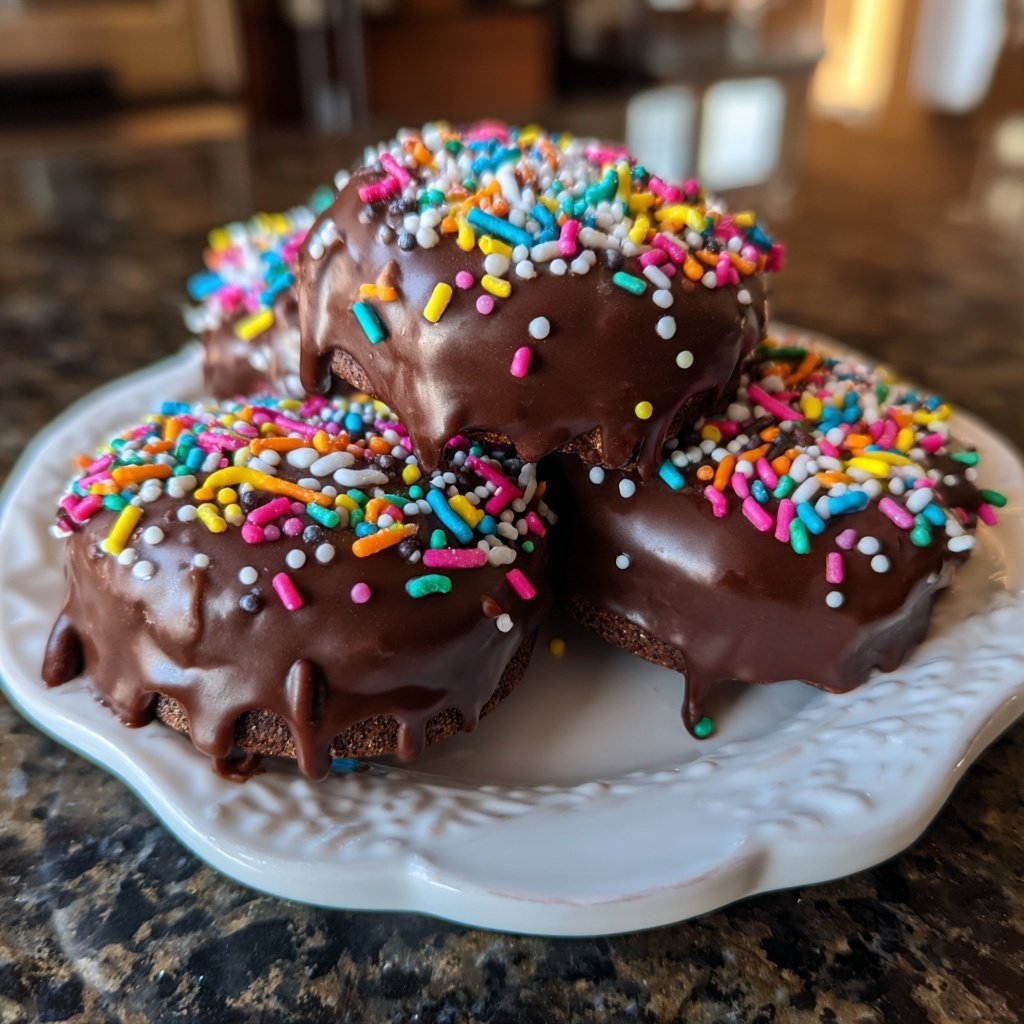
I love making these Valentine’s Treats Chocolate Covered Oreos every year, as they bring a delightful mix of crunch and sweetness that never fails to please! The process of dipping each Oreo into silky chocolate feels like an art form, and the addition of colorful sprinkles makes them visually stunning. It’s a treat I look forward to sharing with friends and family, not only for their delicious taste but also for the warm smiles they bring. Trust me, once you try this recipe, it will become a cherished tradition in your house too!
When I first decided to make chocolate-covered Oreos, I was amazed at how simple yet satisfying it was to create a decadent treat. I experimented with different types of chocolate, eventually settling on rich dark chocolate for its deep flavor. To ensure they hardened perfectly, I let them set in the fridge, which was a game-changer for presenting them nicely at gatherings.
During one of our family gatherings, these treats became a hit, with everyone clamoring for more. I love how versatile they can be — you can customize them with different toppings or colors to fit any occasion, from Valentine's Day to birthdays. They never disappoint!
Why You Will Love This Recipe
- Irresistibly crunchy with a creamy chocolate coating
- Customizable with endless topping options
- Perfect for gifting or sharing with loved ones
The Art of Melting Chocolate
Melted chocolate is the star of this recipe, and achieving the perfect consistency is crucial. When heating the dark chocolate chips in the microwave, make sure to stir after each 30-second interval. This helps to prevent overheating, which can cause the chocolate to seize. You want it to be glossy and smooth—a perfectly melted chocolate should flow easily without any lumps. If you do encounter lumps, a few gentle stirs may restore its smooth consistency, or you can add a splash more coconut oil.
Coconut oil enhances the melted chocolate’s texture, making it thinner and easier to dip. It's optional, but I highly recommend using it, especially if you want a sleek finish on your treats. If coconut oil isn’t available, you could use vegetable oil as a substitute; however, be cautious with the quantity since it can alter the flavor slightly. Make sure to keep the melted chocolate warm as you work, as it thickens relatively quickly once it starts to cool.
Dipping Techniques and Handling
Dipping the Oreos is a delicate process that can determine the final presentation. Use a fork to ensure a thorough coating without applying too much pressure, which could break the cookies. I like to gently shake the fork after dipping to encourage excess chocolate to drip off. This also helps maintain an even layer of chocolate without creating clumps that might not set properly. Lifting the Oreos with the fork rather than your fingers preserves the finish and prevents smudging.
When placing the dipped Oreos on the parchment-lined baking sheet, leave enough space between them to avoid sticking during the setting process. If you're using various toppings, I recommend working in small batches—dip about four Oreos, decorate them, and move onto the next batch. This way, the chocolate remains tacky, allowing sprinkles or decorations to adhere better. If chocolate hardens before you can add decorations, you can briefly re-dip them to refresh the coating!
Storing and Variations
Once your Valentine’s Treats are ready, you can store them conveniently. Place the cooled Oreos in an airtight container separated by parchment paper to prevent them from sticking together. They can be kept at room temperature for about a week; however, if you live in a warmer climate, you might want to store them in the refrigerator for added longevity. Just remember to allow them to come to room temperature before serving, as this will improve the texture.
For variations on this recipe, feel free to experiment with different types of chocolate, like white or milk chocolate, for a sweeter alternative. You can also infuse the chocolate with flavors such as peppermint extract or orange zest for a unique twist. Consider using themed sprinkles or colored chocolate melts to customize them further for the occasion. The possibilities are endless, and creating different flavors can make this treat even more special!
Ingrediënten
Gather these ingredients to get started on your delicious Valentine’s treats!
Ingredients
- 1 package of Oreo cookies
- 12 oz dark chocolate chips
- 1 tbsp coconut oil (optional for smoothness)
- Sprinkles or decorations of your choice
Make sure to have everything prepared for easier assembly!
Bereidingswijze
Follow these simple steps to create your chocolate-covered Oreos:
Melt the Chocolate
In a microwave-safe bowl, combine dark chocolate chips and coconut oil. Heat in 30-second intervals, stirring in between, until completely melted and smooth.
Dip the Oreos
Using a fork, dip each Oreo into the melted chocolate, allowing excess to drip off. Place them on a parchment-lined baking sheet.
Add Toppings
Before the chocolate hardens, sprinkle your chosen toppings over the Oreos for added flair.
Let Them Set
Refrigerate the Oreos for about 10 minutes until the chocolate has fully hardened. Enjoy your delicious treats!
Enjoy your chocolate-covered Oreos and share them with others!
Professionele Tips
- For a fun twist, try using white chocolate or colored candy melts for your coating. Also, pairing different sprinkles can match any holiday theme!
The Importance of Quality Chocolate
Choosing high-quality chocolate chips can greatly affect the outcome of your treats. Opt for brands that contain cocoa butter rather than fillers. Look for chocolate with at least 60% cocoa content for a rich flavor that balances nicely with the sweetness of the Oreos. If you want to avoid overly sweet treats, dark chocolate is the perfect choice, as it adds depth and sophistication.
If you're feeling adventurous, you might also consider melting chocolate bars instead of chips. Chocolate bars often have a creamier texture and can offer an interesting flavor profile, especially artisan varieties infused with spices, fruits, or other unique flavors. Just remember to chop the bar into small pieces for even melting—this will save time and reduce the risk of burning.
Enhancing Your Treats
Adding a touch of sea salt on top of the chocolate just before it sets can create a wonderful sweet and salty contrast that enhances the flavor immensely. A sprinkle of flaky sea salt provides a beautiful visual and adds a burst of flavor that complements the sweetness of the chocolate and Oreo cookie. This simple addition can elevate your treats and make them impressive for sharing or gifting!
If you're making these treats for a special occasion, consider personalizing them further with themed decorations. For instance, heart-shaped sprinkles for Valentine's Day or seasonal colors for different holidays. You might even pipe a bit of melted white chocolate on top in a decorative pattern after the main layer has cooled. This not only adds an element of sophistication but also a delicious flavor contrast!
Vragen Over Recepten
→ Can I use milk chocolate instead of dark chocolate?
Absolutely! Milk chocolate will give you a sweeter flavor, while dark chocolate provides a richer taste.
→ How long do these treats last?
Stored in an airtight container, they can last up to a week at room temperature or longer if refrigerated.
→ Can I use gluten-free Oreos?
Yes, gluten-free Oreos are a great option if you're looking for a gluten-free treat!
→ What other toppings can I use?
You can use crushed nuts, mini chocolate chips, or even sprinkles for a colorful touch!
Valentines Treats Chocolate Covered Oreos
Gemaakt door: Bryony Wells
Recepttype: Creatieve bakinspiratie
Vaardigheidsniveau: Beginner
Eindportie: 24 servings
Wat je Nodig Hebt
Ingredients
- 1 package of Oreo cookies
- 12 oz dark chocolate chips
- 1 tbsp coconut oil (optional for smoothness)
- Sprinkles or decorations of your choice
Stappen
In a microwave-safe bowl, combine dark chocolate chips and coconut oil. Heat in 30-second intervals, stirring in between, until completely melted and smooth.
Using a fork, dip each Oreo into the melted chocolate, allowing excess to drip off. Place them on a parchment-lined baking sheet.
Before the chocolate hardens, sprinkle your chosen toppings over the Oreos for added flair.
Refrigerate the Oreos for about 10 minutes until the chocolate has fully hardened. Enjoy your delicious treats!
Extra Tips
- For a fun twist, try using white chocolate or colored candy melts for your coating. Also, pairing different sprinkles can match any holiday theme!
Voedingswaarde (Per Portie)
- Calories: 230 kcal
- Total Fat: 12g
- Saturated Fat: 7g
- Cholesterol: 0mg
- Sodium: 110mg
- Total Carbohydrates: 32g
- Dietary Fiber: 1g
- Sugars: 20g
- Protein: 2g