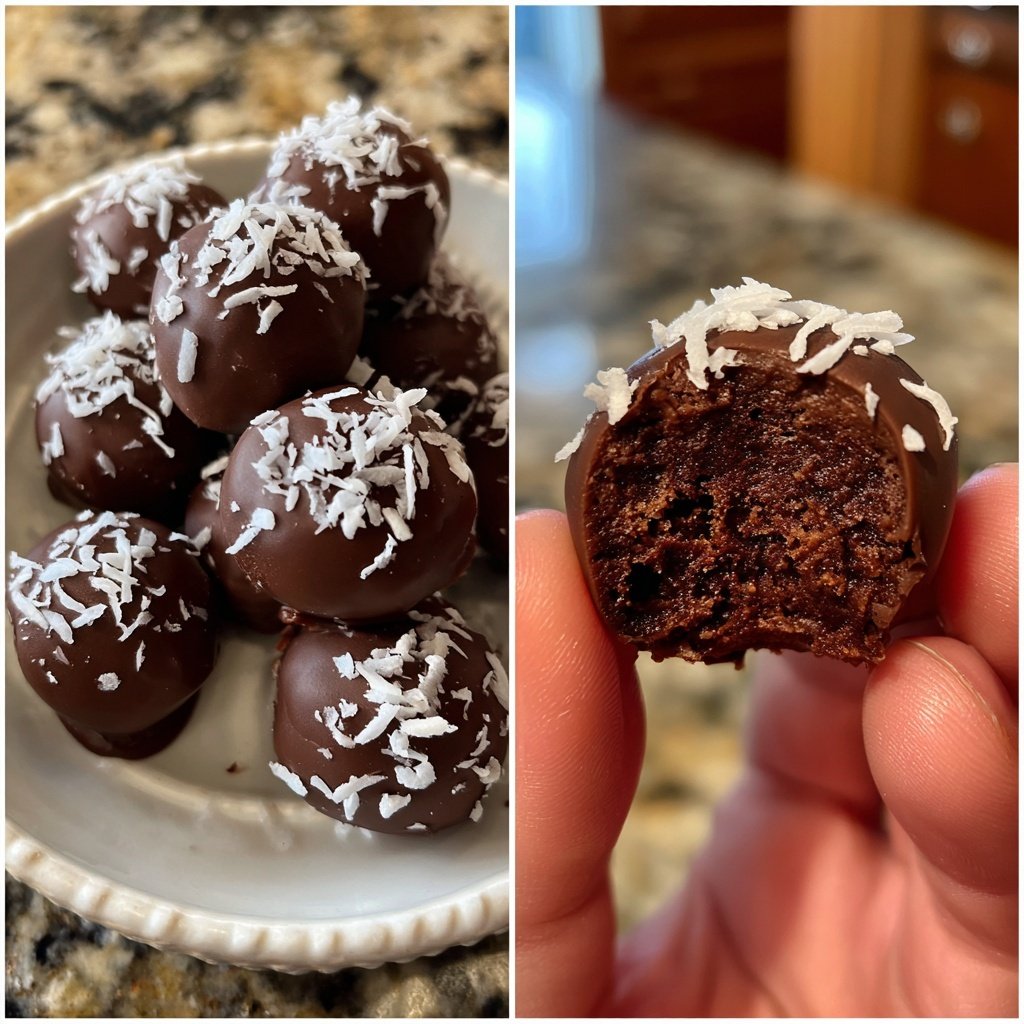
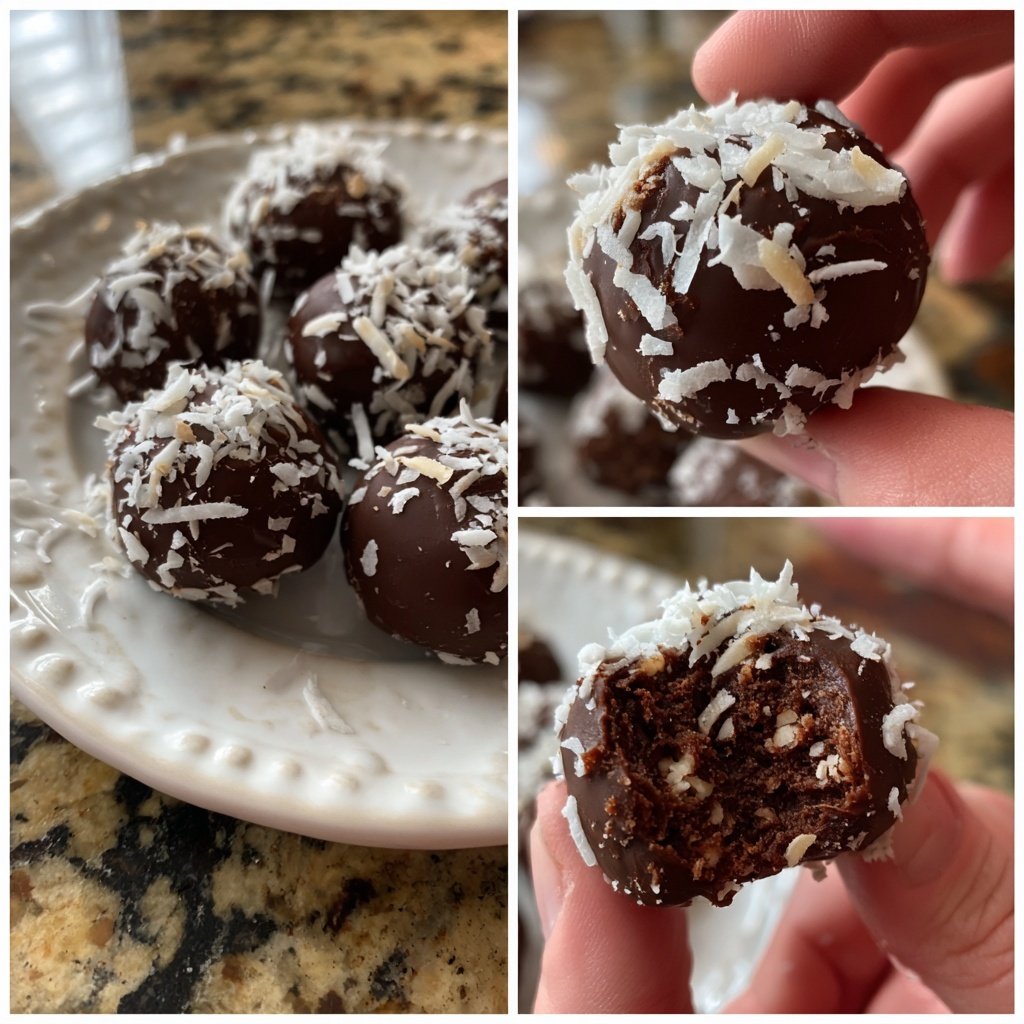
Chocolate Coconut Truffles
Uitgelicht onder: Creatieve bakinspiratie
I absolutely adore making Chocolate Coconut Truffles, as they bring together the rich taste of chocolate and the tropical flair of coconut. The process is straightforward yet exciting, allowing me to channel my inner chocolatier. These delightful treats not only satisfy a sweet tooth but also serve as a perfect gift for friends and family. With each bite, I'm treated to a creamy texture that melts in my mouth, making them an irresistible indulgence. Whether it's for a special occasion or just a little pick-me-up, these truffles never fail to delight!
When I first crafted these Chocolate Coconut Truffles, I was amazed at how simple yet rewarding the process was. I learned that the secret is using quality ingredients, particularly good chocolate and fresh coconut flakes. Mixing the ingredients just right ensures a smooth and luscious filling that makes these truffles truly special. I love rolling them in cocoa powder or shredded coconut to give a fun finish.
As I experimented with different flavorings, I discovered how a hint of vanilla can elevate the chocolate experience. I also found refrigerating the truffles before serving allows them to firm up nicely, enhancing their delightful texture. Enjoying these treats, either alone or with friends, is always a delightful experience!
Why You'll Love These Truffles
- Decadent chocolate flavor paired with tropical coconuts
- Creamy texture that melts in your mouth
- Simple recipe that's perfect for homemade gifts or treats
Understanding the Ingredients
The key to the depth of flavor in these Chocolate Coconut Truffles lies in the choice of dark chocolate. Opt for high-quality chocolate with at least 70% cocoa content for a rich, balanced taste that perfectly complements the sweetened condensed milk. The chocolate should melt smoothly without any gritty texture, which ensures that the truffles have a luxurious consistency. If you'd like a sweeter truffle, you might consider using semi-sweet chocolate instead.
Shredded coconut adds not only taste but also a wonderful texture to the truffles. Look for unsweetened shredded coconut if you're monitoring sugar intake, as it will allow the chocolate's richness to shine through. Toasting the coconut slightly before mixing it in can also enhance the flavor, adding a slight crunch that contrasts beautifully with the creamy chocolate center.
For the coating, you can experiment with different textures by using cocoa powder, additional shredded coconut, or even crushed nuts. Each coating will give a distinct flavor and appearance, making your truffles more visually appealing. If you're looking for a bit of heat, a dusting of cinnamon or cayenne can elevate the flavor profile, but be cautious with the amounts.
Perfecting the Truffle Technique
When melting the chocolate, consistency is key. Microwaving in short intervals prevents the chocolate from scorching. Stir vigorously after each interval, and be aware that carryover heat can continue to melt the chocolate even after removing it from the microwave. Aim for a glossy, smooth mixture that drips off the spoon without leaving behind thick clumps.
If the mixture becomes too thick after chilling, it can be difficult to shape. In that case, allow it to sit at room temperature for a few minutes until it softens slightly before rolling. This can prevent frustration and ensure you form perfect, uniform truffles. Using a scoop can help maintain even sizes, resulting in a more professional-looking treat.
When coating the truffles, it's helpful to wear gloves or lightly oil your hands to prevent the mixture from sticking. Roll generously to ensure every surface is covered, which also helps maintain the flavor balance, as each truffle should deliver both coconut and chocolate in a single bite. Allowing the truffles to chill again after coating is essential, as this sets the outer layer and protects the creamy center.
Storage and Serving Suggestions
These truffles can be made a few days in advance, making them a fantastic option for any occasion. Keep them stored in an airtight container in the refrigerator to maintain their firmness, where they can last up to two weeks. To prevent them from sticking together, consider separating layers with parchment paper inside the container.
If you want to keep your truffles for even longer, they can be frozen. Once fully chilled and set, place them in a single layer on a baking sheet to freeze. Once solid, transfer them to a zip-top freezer bag, where they can last for up to three months. Simply let them thaw in the refrigerator before serving for the best texture.
For serving, arrange the truffles on a decorative plate or in a box adorned with ribbons for a delightful gift presentation. You can even pair them with fresh fruit like strawberries or a light dessert wine to enhance the tropical flavors. They’re also great as a coffee companion for an afternoon pick-me-up!
Ingredients
For the Truffles
- 1 cup dark chocolate chips
- 1/2 cup sweetened condensed milk
- 1 cup shredded coconut
- 1 teaspoon vanilla extract
- Cocoa powder or additional shredded coconut for coating
Make sure to use quality chocolate for the best flavor!
Instructions
Melt the Chocolate
In a microwave-safe bowl, combine the dark chocolate chips and sweetened condensed milk. Microwave in 30-second intervals, stirring in between until the mixture is smooth and fully melted.
Combine Ingredients
Fold in the shredded coconut and vanilla extract until the mixture is well combined. The consistency should be thick and creamy.
Chill the Mixture
Cover the bowl with plastic wrap and refrigerate for about 20 minutes, or until the mixture is firm enough to handle.
Shape the Truffles
Once chilled, use your hands to scoop and roll the mixture into small, bite-sized balls. Place them on a parchment-lined tray.
Coat the Truffles
Roll each truffle in cocoa powder or shredded coconut to coat. Make sure they are evenly covered.
Final Chill
Return the coated truffles to the refrigerator for another 10-15 minutes to set before serving.
Enjoy your delicious homemade truffles!
Professionele Tips
- For a burst of flavor, try adding a few drops of almond extract to the mixture before chilling.
Troubleshooting Common Issues
If your truffles don't hold their shape after chilling, it may be due to either excess moisture from the condensed milk or insufficient chilling time. Try adjusting the ratio of shredded coconut, as this will help absorb moisture and create a more stable mixture. If the truffle mix feels too sticky, refrigerate it longer before shaping.
Sometimes, the chocolate might seize during melting, causing it to become grainy. This can happen if even a drop of water gets into the chocolate. Make sure your bowl and spoon are completely dry, and consider adding a teaspoon of vegetable oil to the mixture after it seizes to help smooth it out.
If the truffles break apart when being coated, it might be helpful to chill them longer before handling. Additionally, using a light hand when rolling can prevent the truffles from losing their shape or becoming too warm, which is crucial for achieving that perfect bite.
Creative Variations
For a playful twist, try adding flavor extracts like almond or mint to your truffle mixture. Just a drop can transform the entire flavor profile. For a more decadent option, incorporate a teaspoon of espresso powder for a mocha flavor that pairs brilliantly with chocolate and coconut.
You can also play with the texture by rolling half of the truffles in chopped nuts or finely crushed pretzels for a sweet and salty combination. Alternatively, consider dipping the coated truffles in tempered chocolate for an extra layer of richness and a professional finish.
If you're looking for a more health-conscious version, substitute the sweetened condensed milk with full-fat coconut milk and a natural sweetener such as agave or honey. This swap will create a different flavor base while still achieving that creamy texture, making it suitable for those with dietary restrictions.
Vragen Over Recepten
→ Can I use milk chocolate instead of dark chocolate?
Yes, but keep in mind that it will yield a sweeter truffle.
→ How long can I store these truffles?
They can be stored in an airtight container in the fridge for up to two weeks.
→ Can I make these truffles vegan?
Yes, you can use dairy-free chocolate and coconut cream instead of sweetened condensed milk.
→ What can I use instead of cocoa powder for coating?
You can roll them in finely chopped nuts, powdered sugar, or more shredded coconut.
Chocolate Coconut Truffles
Gemaakt door: Bryony Wells
Recepttype: Creatieve bakinspiratie
Vaardigheidsniveau: Easy
Eindportie: 24 truffles
Wat je Nodig Hebt
For the Truffles
- 1 cup dark chocolate chips
- 1/2 cup sweetened condensed milk
- 1 cup shredded coconut
- 1 teaspoon vanilla extract
- Cocoa powder or additional shredded coconut for coating
Stappen
In a microwave-safe bowl, combine the dark chocolate chips and sweetened condensed milk. Microwave in 30-second intervals, stirring in between until the mixture is smooth and fully melted.
Fold in the shredded coconut and vanilla extract until the mixture is well combined. The consistency should be thick and creamy.
Cover the bowl with plastic wrap and refrigerate for about 20 minutes, or until the mixture is firm enough to handle.
Once chilled, use your hands to scoop and roll the mixture into small, bite-sized balls. Place them on a parchment-lined tray.
Roll each truffle in cocoa powder or shredded coconut to coat. Make sure they are evenly covered.
Return the coated truffles to the refrigerator for another 10-15 minutes to set before serving.
Extra Tips
- For a burst of flavor, try adding a few drops of almond extract to the mixture before chilling.
Voedingswaarde (Per Portie)
- Calories: 380 kcal
- Total Fat: 26g
- Saturated Fat: 15g
- Cholesterol: 195mg
- Sodium: 85mg
- Total Carbohydrates: 32g
- Dietary Fiber: 3g
- Sugars: 24g
- Protein: 6g